Live Stream or Record Your Digital Art With This Guide Today!
One group that has been at the forefront of the work from home experience has been artists. Many artists have begun to look into other revenue streams like live-streaming the creation and process of making their art or providing educational content teaching others the skills they have learned. How you may ask, do you stream or record your art? Well, you may have noticed it in the title but today we’re going to discuss how to live stream or record digital art!
Requirements
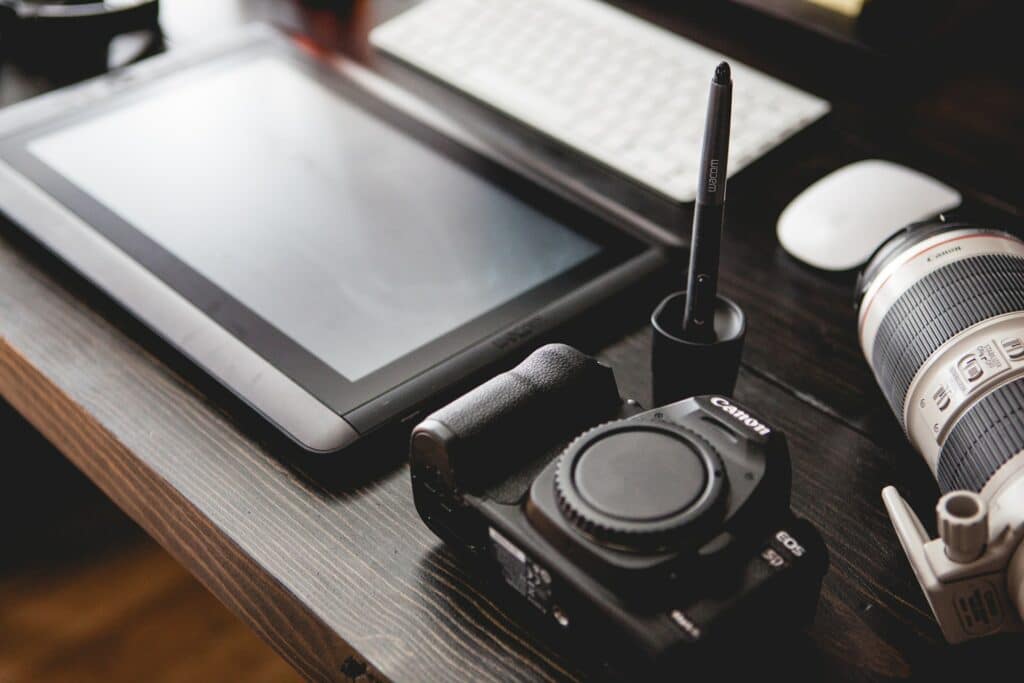
First up, you’ll need a computer, a desktop PC or laptop are both good for this, just make sure it hits certain requirements, something you can read about here. Briefly though, make sure you have at least an NVIDIA RTX GPU or a six-core CPU. Next, if you’re doing physical art, like painting on a canvas or sculpture, you’ll need some type of camera. You can grab a webcam, a Logitech C920 is a good start, or you can even use your cellphone! Download XSplit VCam, get the XSplit Connect: Webcam App, and make sure your phone and PC are on the same WIFI network and you can use your phone as a camera!
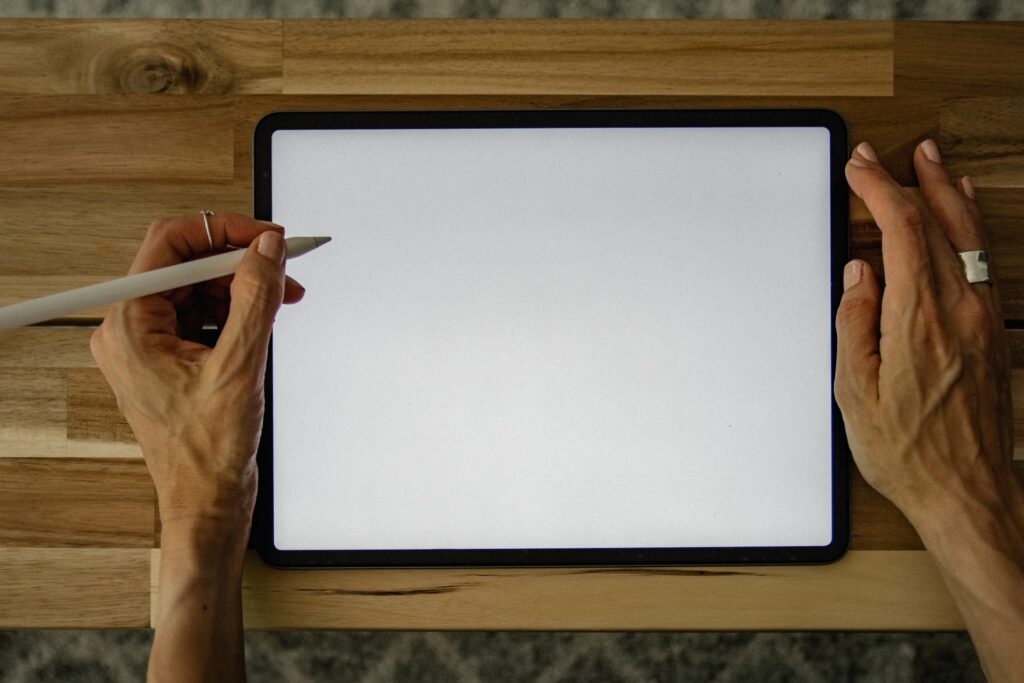
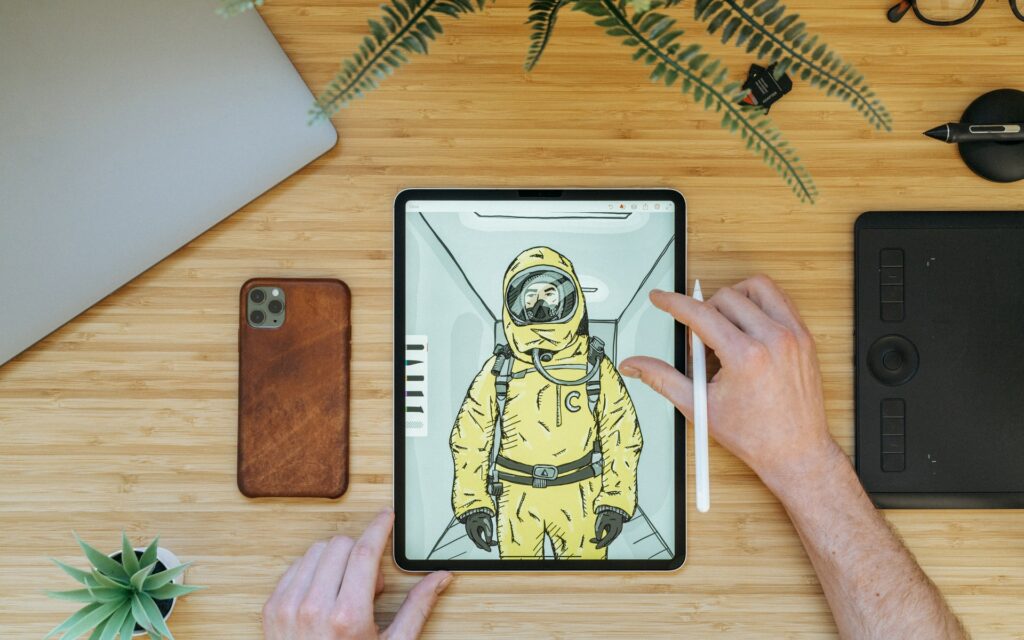
If you’re creating digital art on something like an iPad you’ll need to be able to capture your screen to stream digital art. There are two ways to do this, one is using an HDMI adapter (HDMI to Lightning or USB-C in the case of some iPads) to connect the device to a capture card. Or you can use software like airserver to airplay your screen over WIFI. Another important thing as well is to make sure you have a microphone if you’re going to be talking to people in the chat, but especially if you are going to be creating tutorials! A lot of webcams come with built-in microphones but we would recommend a standalone one, something we’ve discussed here.
Setup
We’re going to be using XSplit Broadcaster as our streaming software. First thing, I recommend setting your resolution to 1920×1080 and a frame rate of 30fps. You’ll want to add whichever source will be displaying your art, if this is from a capture card simply use the sources menu by clicking Add Source > Devices > Video and selecting the name of the capture card you have. If you’re going to be capturing the software you use to make digital art like Adobe Photoshop on the same PC you’re streaming from again go to the sources menu, Add Source > Screen Capture and you can either select Smart Capture to capture only the software you’re using or you can select monitor capture. This will, however, mean people can see anything on your desktop so we’d advise using Smart Capture.
Adding your camera is just as easy as adding the capture card, but this time select the name of your webcam and it will go in the main XSplit Broadcaster window where you can easily move and resize everything. Then you just need to go into your audio settings (Tools > Settings > Audio) and select your microphone. Leave your system sound set to default, this is basically capturing any sound that your PC makes, such as audio from a video or music playback.
Another useful source, especially if you’re teaching people about software that uses a lot of shortcuts is the keyboard input display. This can be found by going to the plugin store, which can be found by selecting Add Source > Find More Sources and in the search bar typing Input Visualizer. Click on it and select Install and now back in the sources menu selecting Add Source > General Widgets and selecting the Input Visualiser. You’ll need to enable permissions for this, a bar will however automatically appear at the top of XSplit Broadcaster prompting you to do so. After that, all your keyboard inputs will appear visualized on the screen!
If you’re doing timed lessons, you can easily set up a text source to be a countdown timer which you can do again by heading to the source menu Add Source > Text then right-clicking on text source that appears and click the box that says “Use Custom Script” then clicking “Edit Script”. From here select in the Template drop-down menu “General Purpose Clock” and setting it up as you like. Finally, I recommend setting up a starting soon scene just so you can be sure everything is ready for your session. This is easily done in the scene menu clicking the + button, adding some of your artwork, some text that says Starting Soon, and maybe another countdown timer from the custom scripts. Or however you want it to look, honestly!
Streaming and Recording Digital Art
Now that you’re all set up let’s get a stream or recording going! If you’re streaming to any of the popular platforms like Twitch, Facebook, or YouTube this is pretty straightforward, just log in to your account when you first open up XSplit Broadcaster (or by going to the File dropdown menu and selecting Log in) and let the wizard set you up with all the recommended stream settings. If you’re streaming to a different platform you’ll use the custom RTMP plugin. This is found in the plugin store which you can find by going to Extensions > Add Extensions > Find More Extensions and installing it in the same manner we did with the Sources store above.
You’ll need to get the RTMP URL and the stream key from the service you’re using and put them in by heading to Broadcast > Set Up New Output and select Custom RTMP. You’ll also need to manually input your stream settings. Twitch offers some good guidelines for bitrates that are roughly applicable in most places and can be found here. The most important thing to take note of is your internet upload bandwidth, do a quick speed test to find out your upload speed. Basically, you want to set a bitrate that’s about 70% of your upload bandwidth or less.
Now, you’re ready to stream digital art! You can record while you’re streaming at the same time easily by checking the “Automatically save a recording on local drive” box in your Custom RTMP output or particular service Properties box which can be found by clicking the gear icon next to its name in the broadcast menu. To set your recording settings click the Record drop-down menu and click the gear icon. You’ll want to set the quality to Ultra High and enable multi-track audio and select Force constant frame rate if you’re going to be editing your video after the fact. From here just click okay and then hit record when you’re ready to go! Finally, it’s not a bad idea to hit the little camera symbol up the top in order to take screenshots, something that’s useful for sharing your finished work or using it to create thumbnails.
That’s all it takes to get started streaming or recording your artwork! Of course, there’s still promoting your content and getting people to watch, but that’s a subject for another day!