Working from home with XSplit Broadcaster – Giving a Presentation
With more and more people working remotely or working from home, making a presentation that’s both informative and effective can be tough.
If you’re clicking around tabs on a browser, fiddling with desktop programs while trying to show your camera and the presentation during a Zoom call isn’t easy, or is it? If you couldn’t tell, right here is where I let you know “Hey, there’s an XSplit for that!”
Broadcaster to be exact. I’m going to tell you how you can spice up those online presentations with a little bit of XMagic (that’s XSplit’s patented magic, which makes a lot of assumptions about you considering broadcasting software magic. In our opinion, you should, but enough about magic, for now…)
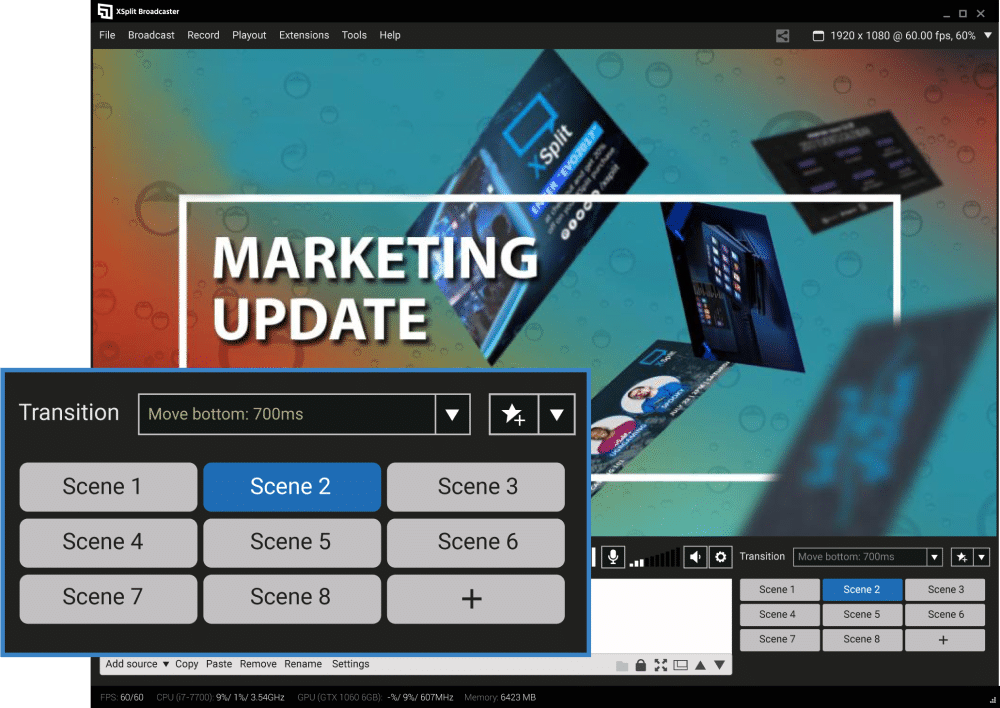
Once you’ve downloaded and installed XSplit Broadcaster; click the application to open and you’ll be greeted with the starting screen. Click Presentation and you’ll see a bunch of ready-made scenes. Each scene is like an advanced slide for your presentation so go ahead and click around! It’s like we wanted to make this easy for you, huh? Nice big text with instructions, looking all easy and stuff! Well, it is! First things first, if you have made an already snazzy looking presentation on your computer using something like PowerPoint or online using one of Google’s many options or, ya know, other ones, (hey, I don’t know all the presentation software, I’m the XSplit guy, remember?) open it up! Now, back to XSplit.
Things will open on a scene that says Desktop Capture with Webcam. From here you should now see the window you had open, and XSplit giving you a pretty rad infinite loop effect. Don’t worry! If you minimize it, it’s gone! If you’re using two monitors you can also drag XSplit to the second monitor. To capture exclusively from the monitor your browser is on, right-click Desktop Capture and select which desktop you wish to pull from, but let’s just stick with what we have for now! You can also change the name in the frame around your webcam, just right click on Text in the Sources window and change it! We can also hide the introductory text by clicking the eye symbol next to it! See, I told you, magic! Real Magic!

Setting up your webcam is easy. Right-click, where it tells you to right-click to select your webcam and choose XSplit from the list of all the webcams connected and installed on your computer!
If you want to change the text under your webcam, right-click where it tells you to in the Sources Menu and type your text. This scene is great for when you still want to make eye contact with everyone in the presentation and add the element of intimacy you’d have giving the presentation in the room. Don’t want that? Well, head on over to our next scene which is just Desktop Capture.
This will work exactly the same but without the camera. People will still hear you and they will see whatever you see on your monitor. Speaking of hearing you, XSplit Broadcaster should have selected your default microphone but let’s double-check at the jump! Head to Tools, Settings, Audio and select the device you want XSplit to use for your Microphone.
There is also a scene labeled presenter camera. This is great when you’re addressing everyone without visuals and just want to talk. This is the same as you set up your webcam. Go ahead and right-click on things and make them work! There’s also a handy pre-presentation scene that you can have going when you first connect to your call. This is great if you want to have your microphone muted (click the little microphone symbol above the sources menu) and make sure you’re ready to go! Just be sure to click unmute when you begin the talk!
So, from here, you have one simple and slick-looking way to do your presentation set up and ready to go! You can use the presentation like normal: within the browser, as a full-screen camera, or picture in picture with XSplit Broadcaster handling everything!
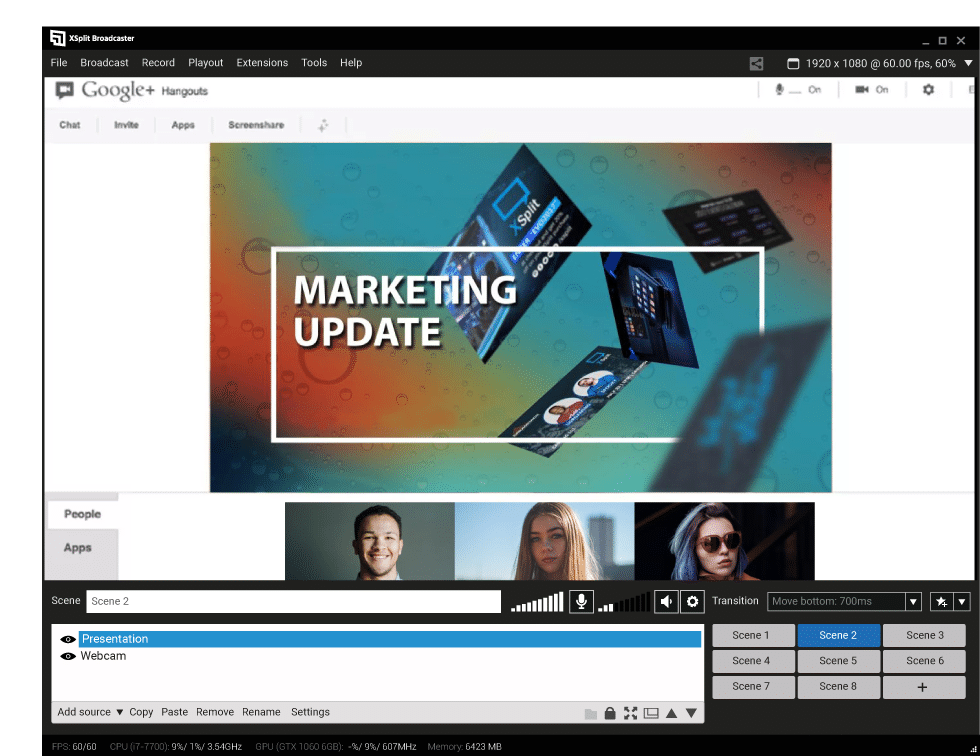
To use this in a meeting using Google Hangouts, go to the settings and select XSplit Broadcaster as your camera.
For Skype, it’s exactly the same, head to settings and simply select XSplit Broadcaster as your camera! Make sure that you are using Skype for Desktop, not the pre-installed version that comes with Windows 10.
We hope this takes a lot of the stress out of giving your presentation when working remotely or from home. And this is merely the beginning, XSplit Broadcaster has a ton of features and functions that you can add – upping your production value and fun to your future presentations. We have a bunch of tutorials for just that! Want something like this in your next presentation?
XSplit Broadcaster can do that! Good luck and be sure to check around the website for more things you can do with XSplit Broadcaster!