The Best Audio Interface For Live Streaming
Upgrading your audio gear is always one of the first things we recommend you spend some money on if you want to level up your hardware. Maybe you’ve already used some brilliant USB mics on offer, and now you’re looking to get that broadcast sound. The Shure SM7B seems to be the one used by everyone, right? It won’t just plug into your PC microphone port!? What you need is an audio interface! We’re here to discuss some budget and mid-tier audio interfaces that will do the job!
The Budget Audio Interface
Most people will never need to go beyond this tier. These interfaces will connect to your PC easily and, in most cases, power your new expensive microphone. The recommendations for this level are the Focusrite Scarlett series, starting with the Solo.
The Motu M2 are also great devices, mainly since they include audio meter displays for setting levels and a decent DAC chip if you’re hooking up your headphones.
But probably the best choice for beginners is the Evo 4 by Audient. It has a feature called smart gain which will automatically set the input audio level for your microphone. This is extremely useful for beginners as it’ll ensure your audio isn’t clipping and give you enough headroom to apply effects for more advanced users.

Mid-Tier Audio Interfaces
So like I said, you don’t really need to go beyond budget audio interfaces unless your audio setup is a bit more complicated. For example, having a dual PC streaming setup, or you’ll need a variety of inputs for things like podcasts.
Now everyone is going to need different solutions, but in this case, I like to recommend devices like the RME Babyface Pro or the Audient id14. These are still relatively small interfaces with digital mixers allowing you to route audio between their inputs and outputs. So, if you want to split your gameplay audio and microphone audio to different outputs, you can apply different audio effects to each.
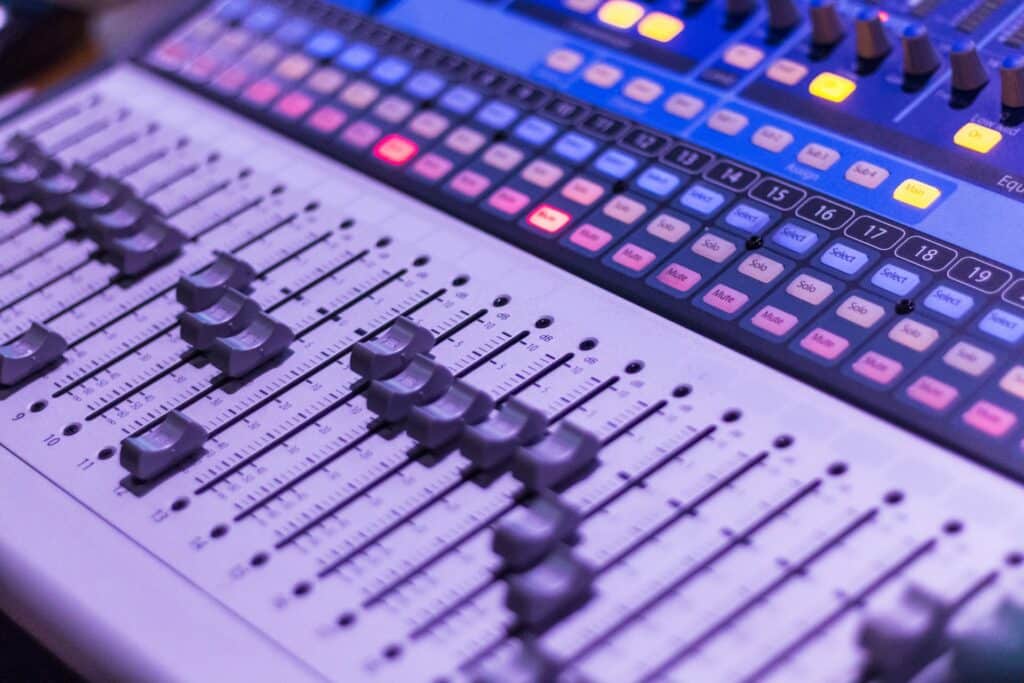
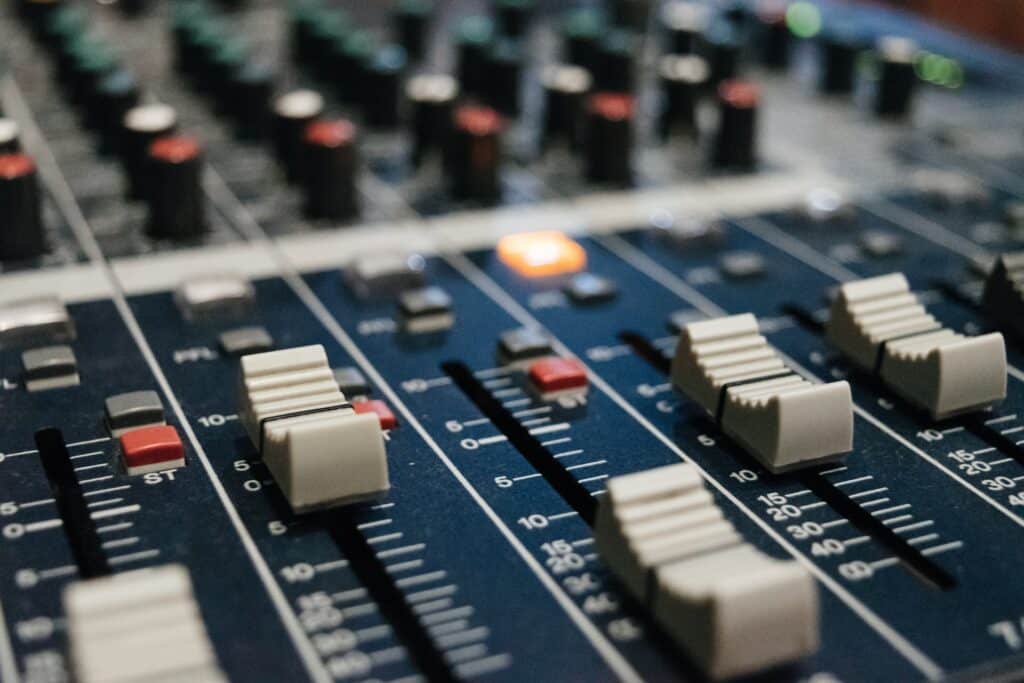
If you are producing things like a podcast, you may consider buying a mixer with USB functionality. These can vary in complexity, but generally, they have single audio mics that will output via USB. These are great for having physical controls to manage your broadcast, which will always be faster than apps with touch controls.

Tips and Tricks
There are some essential things to know about audio interfaces before you use them. First, you need to know how to enable phantom power, as microphones that require it won’t work otherwise. Usually, it’s a button, but sometimes you must dig through a menu to get it working.
Audio interfaces act as playback devices in Windows, so if you’re going to be using them to monitor audio, make sure they are set as the default device, and if you still aren’t getting audio, check the monitoring settings on your device.
Some devices have a monitoring mode that only outputs audio from physical inputs like a microphone, not digital like your PC. So be sure to check these and adjust accordingly. Finally, when using your audio interface as a microphone device in XSplit Broadcaster, usually it’s a mono signal being received as a stereo source, so you may only hear the microphone on the left side. You can quickly fix this by having Broadcaster duplicate your audio to the other channel.
What audio interface do you use? If you have any questions, drop them in the comment section below!
